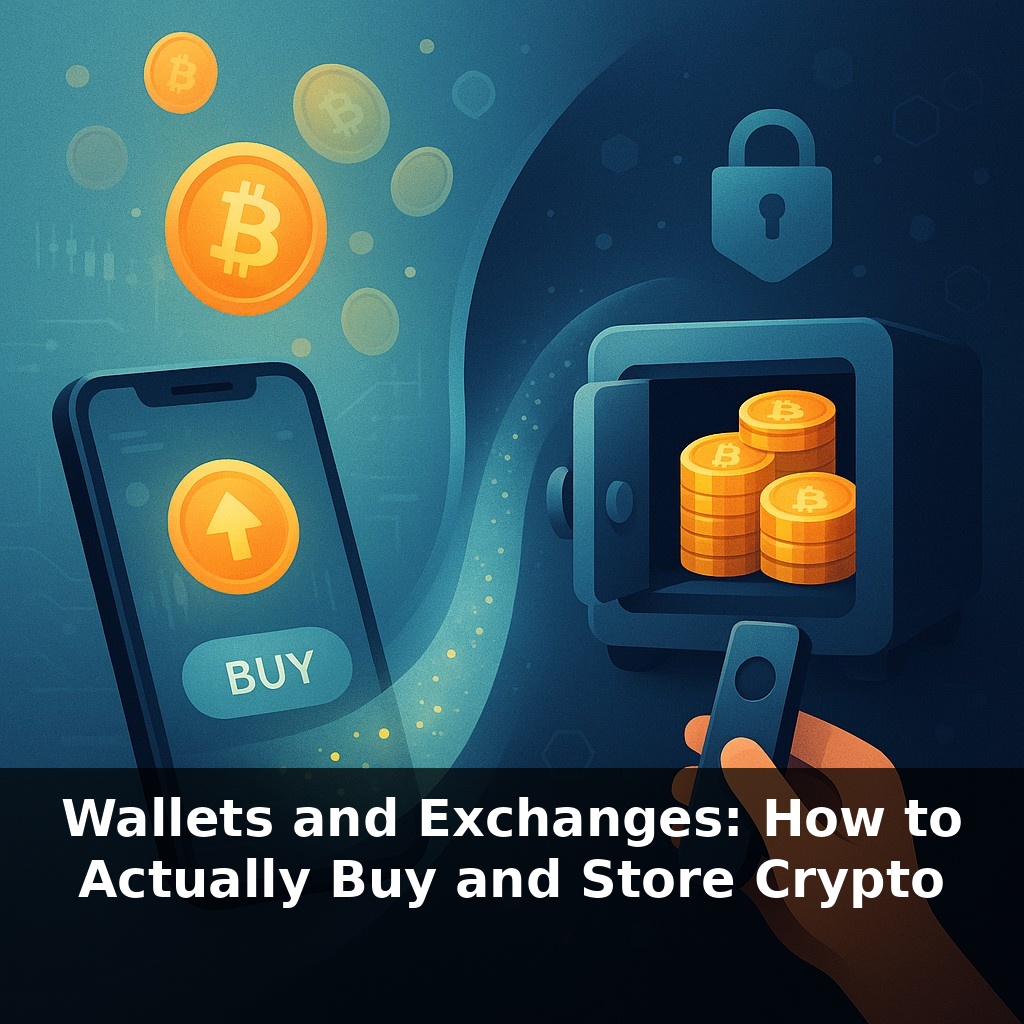
Right now, most crypto trading still happens on a handful of big exchanges—yet the safest place for your coins is somewhere completely different. A young engineer buys a few hundred dollars of Bitcoin on her phone… and pauses. Where does it actually live—and who really controls it?
Most beginners tap “buy” on an app and stop there—but the serious risk starts *after* you own the coins. Two choices shape almost everything that happens next: (1) where you acquire crypto, and (2) where you store it long term. Get either wrong and a single hack, frozen account, or lost password can wipe you out.
In practice, most people start on a regulated exchange: that’s where liquidity is, with the top 10 platforms handling roughly 70% of all trading volume. But long-term holders behave very differently. Over 60% of all Bitcoin hasn’t moved in more than a year, suggesting those coins sit in wallets designed rarely—if ever—to touch the internet.
This episode walks through a practical path: use exchanges as short-term transaction tools, then move meaningful balances into wallets where *you* hold the keys. We’ll compare real setups, from $200 starters to five‑figure portfolios.
The practical question is: how do you move from tapping “buy” to running a setup that could handle $5,000 or even $50,000 without losing sleep? That starts with splitting your crypto life into two clear buckets. First, an “operating account” on a reputable platform where you keep only what you actually plan to trade or spend—maybe $100–$500 at a time. Second, a “vault setup” for amounts you care about preserving: even $300–$1,000 is enough to justify better protection and a written recovery plan that someone you trust could follow if needed.
Let’s turn that “operating account vs. vault setup” into something you can actually implement.
Start by deciding how much you’re comfortable leaving on-platform. For a $1,000 total position, you might keep $150–$250 on an exchange for small trades and fast exits, and move $750–$850 into a wallet where you control the keys. At $10,000, maybe $1,000–$2,000 stays “hot,” with $8,000–$9,000 moved “cold.”
Now choose *how* you’ll hold that vault portion. You have three main options:
1. **Custodial app with extra safeguards** Examples: Coinbase, Kraken, Bitstamp. You still rely on the platform, but you harden it: - Strong unique password (20+ characters, password manager) - App-based 2FA (not SMS) - Withdrawal whitelist so coins can only go to preapproved addresses Treat this as an intermediate step, not the end goal.
2. **Non-custodial software wallet (hot)** Examples: BlueWallet, Phantom, MetaMask. Good for a few hundred to a few thousand dollars: - You write down a 12–24 word recovery phrase and store it offline - You test a *small* withdrawal first: move $20–$50 off the exchange, then send it back - You lock the app with a PIN/biometrics and encrypt backups where possible
3. **Hardware wallet (cold)** Examples: Ledger Nano, Trezor Model One. Devices start around $60–$80. Best for amounts where a $60 safety device feels cheap relative to your holdings—often around $2,000–$3,000 and up. Basic flow: - Buy **directly** from the manufacturer’s site - Initialize it offline, generate your recovery phrase, and write it down clearly on paper (twice) - Store backups in two separate physical locations (e.g., home + safe deposit box) - Label instructions for a trusted person: “If something happens to me, this phrase + this device = access.”
The on-ramp → vault pattern is simple in practice: - Convert fiat to crypto on a reputable platform - Withdraw to your chosen wallet type - Periodically sweep excess from exchange to vault when your hot balance creeps above your target (for instance, every time it exceeds $300 or 5% of your total holdings).
Your challenge this week: simulate your ideal setup on paper. Write down (1) how much you’d keep hot vs. cold at $1,000, $5,000, and $20,000; (2) which *specific* wallet tools you’d use at each level; and (3) the exact steps you’d follow to move $100 from your exchange to that vault and back again.
Think of your setup less as “one wallet” and more as a layered system, similar to how a professional trading firm structures accounts. A small retail trader with $500 might run a very simple stack: $350 in a basic exchange app, $150 in a mobile wallet they back up once and rarely touch. But a freelance developer parking $15,000 starts looking at tiers: $1,000–$2,000 in a hot wallet for monthly moves, $13,000 under hardware protection with explicit rules about when to move it.
To make this concrete, sketch three tiers for *your* future self:
- At $800 total, maybe a single non‑custodial mobile wallet plus a written backup is enough. - At $4,000, you might split: $600 in a browser wallet for DeFi or NFTs, $3,400 on a hardware device you plug in only when needed. - At $25,000, you could go further: one hardware wallet at home with $5,000, another in a bank box with $20,000, each with its own recovery phrase and labeled instructions.
This isn’t overkill—institutions routinely use multiple signing devices and locations for even modest treasuries.
Regulators and product teams are quietly redesigning how you’ll buy and store coins. Expect more “bank-style” flows: by 2027, you might open a brokerage app, tap “Digital assets,” and have a ready-made split like 10% “active,” 90% “vaulted,” with automatic sweeps above, say, $500. Large holders could adopt quarterly “key health checks,” rehearing recovery steps with $5–$20 test transfers. Start drafting your own version now so you’re ready as tools catch up.
As you level up, think in dollar triggers: above $500, consider a basic software wallet; crossing $2,500, price out a $70–$120 hardware device; past $10,000, plan two locations and a written “how‑to.” Schedule a 30‑minute “security audit” every quarter to adjust those thresholds as your income, risk tolerance, and local regulations evolve.
To go deeper, here are 3 next steps: First, open a no-fee beginner-friendly exchange account like Coinbase or Kraken, complete KYC, and actually buy $20 of a large-cap coin (e.g., BTC or ETH) so you experience the full flow end-to-end. Next, download a reputable non-custodial wallet such as Exodus or MetaMask, then transfer a small test amount from your exchange to that wallet, carefully following their official setup and backup guides. Finally, watch Ledger’s official YouTube playlist on hardware wallet setup and, if self-custody feels right, order a Ledger Nano or Trezor Model One and plan to move a portion of your holdings there once it arrives.