Your phone’s camera is already strong enough to shoot a festival‑worthy short film—yet most clips still look like shaky home videos. In this episode, we step behind the scenes of your own shots to ask: what really separates “meh” footage from “pause and replay that” video?
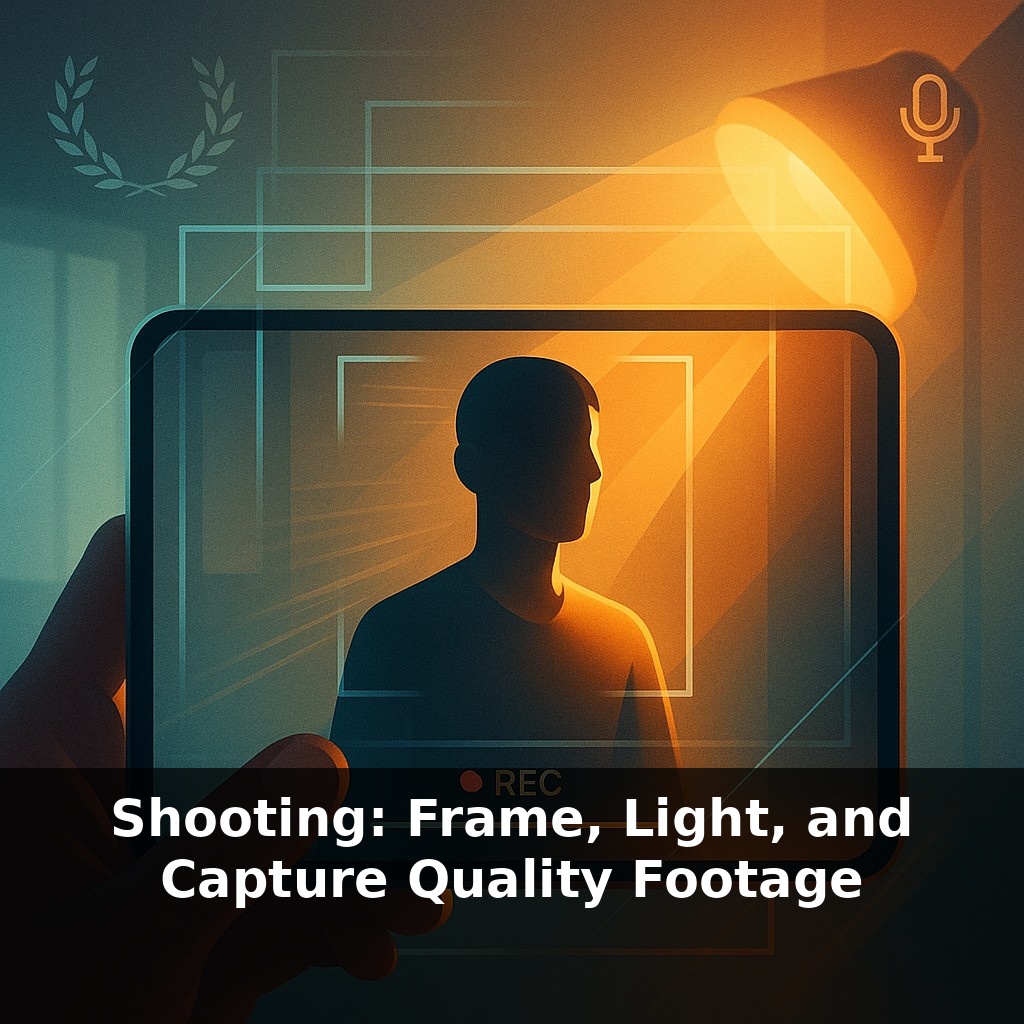
A film director and a vlogger can stand in the same room, point a camera at the same person, and walk away with footage that feels completely different. The gap isn’t magic gear—it’s how they frame, light, and capture what’s already there. In this episode, we’ll slow down and dissect those three choices like a coach reviewing game tape. Where you place the camera decides what the audience *notices*. How you shape light decides what the audience *feels*. And the way you record sound decides whether they trust what they’re seeing. We’ll connect simple on‑set decisions—like moving a lamp, turning your subject 30 degrees, or nudging a mic closer—to the science happening underneath, so you can predictably upgrade any shot, whether you’re filming in a bedroom, an office, or a noisy street corner.
On a real set, no one asks, “Is this cinematic?” They ask questions like, “Are we at a one‑stop difference between face and background?” or “Can we get the mic 30 cm closer?” Professionals think in numbers and distances because those tiny tweaks compound. A small exposure shift can rescue skin tones; a half‑step sideways can turn a boring angle into a confident one; moving a mic just out of frame can cut background noise more than any plug‑in. In this episode, we’ll translate those quiet, technical decisions into simple habits you can use in any room, with any gear, every time you hit record.
Most creators upgrade their camera before they upgrade how they *use* the frame. Start by thinking less about “Is this a wide or a close‑up?” and more about “What do I want the viewer to notice first, second, and last?” That sequence is your real shot list.
Use three questions before you hit record:
1. **What’s my subject competing with?** Scan the edges of your frame: lamp growing out of a head, bright window pulling attention, messy shelf stealing focus. Either remove distractions, darken them, or push them out of focus by stepping back and zooming in. You’re not just showing a person; you’re *editing the world* before the edit.
2. **Where is the eye line leading?** Turn your subject slightly so their gaze leads into empty space, not into the edge of the frame. This “looking room” quietly signals comfort and confidence. For tense or cramped moments, do the opposite: squeeze them closer to the edge so the audience *feels* that pressure without a single word.
3. **Is my background helping the story?** A blank wall can feel like a police interview; a chaotic room feels noisy. Aim for a background with *layers*: foreground (maybe a plant or monitor edge), midground (your subject), and background (softer, dimmer details). This depth makes even small rooms feel intentional instead of accidental.
Now link that framing with light. Instead of blasting the whole scene, choose a *direction* for your key light. Shift a lamp or soft panel so it comes from 30–45 degrees to one side and slightly above eye level. Then watch what happens when you rotate your subject in that beam: cheeks sculpt, eye sockets open, and the background falls just a touch darker, giving natural separation.
Color is your next quiet tool. If your main light is warm, let the background skew cooler—computer screens, a dim window, a small LED accent. That warm‑front / cool‑back contrast makes faces feel alive and backgrounds recede. Reverse it (cool face, warm background) when you want a more mysterious or stylized tone.
Think about sound as part of this composition too. Every time you choose a camera angle, ask: “Where can a mic live in this frame?” Sometimes the best shot is the one that lets you hide a small recorder on a desk or clip a lav closer to the chest. A slightly less dramatic angle with clean dialogue will almost always beat the “perfect” shot paired with muddy echo.
Lighting a scene is like adjusting a patient’s medication: you’re fine‑tuning dosage, not flipping a binary switch. Instead of “on or off,” think “more or less” on *specific* parts of the frame—brighter on eyes, dimmer on clutter, softer on skin, sharper on key props.
Finally, trust your tools, but verify with your own senses. Use zebras, histograms, and audio meters to avoid technical failure, then close your eyes for ten seconds, listen, and look again: does your subject *feel* like the most important thing in this rectangle—for both the eyes and the ears?
Think about a cooking show shot in a cramped apartment kitchen. The pros don’t start by asking for a bigger room; they start by deciding *which* burner is the “hero” and which pots deserve to fall into softness. They’ll tuck a bright cutting board into the foreground, keep the chef mid‑frame, and let clutter in the distance fade into blur. The same logic works when you’re filming a product review on a tiny desk: put one intentional object close to lens, your subject just behind it, and push everything else further back so it turns into texture, not distraction.
Try a street interview: instead of centering your guest against a flat wall, angle slightly so traffic lines flow past behind them. Then let moving elements—bikes, people, buses—cross that background, not the face. You’re staging lanes of visual importance, the way a city plan separates sidewalks, bike paths, and roads so nothing crashes into what matters most.
As resolutions climb and platforms adopt HDR by default, viewers start to notice *everything* you didn’t control: the buzzing fridge under dialogue, the blown‑out window behind a heartfelt moment, the subtle flicker of a mismatched light. Future tools will hide some mistakes, but they’ll also expose more detail—both beauty and flaws. Treat every shoot like practice for a world where your work might be watched 10 years from now, on a brighter screen, with more revealing sound.
As platforms add new formats—vertical, live, 360—your shots become more like pages in a choose‑your‑own‑adventure book. The same scene might need a tight, TikTok‑ready crop, a widescreen edit, and a portrait thumbnail. Treat every setup as raw material for multiple stories: tilt, reframe, and record wild lines so one moment can serve three futures.
Try this experiment: Before sunset today, record the same 20-second clip three times of a friend walking toward you—first with the sun behind them (backlit), then with the sun at their side, and finally with the sun lighting their face from behind you. For each take, lock your phone’s exposure by holding your finger on your subject’s face, then slightly tilt the camera up and down to see how the auto-exposure wants to change and correct it if needed. Afterward, compare the three clips side by side and note which angle gives the best skin tone, least blown-out background, and most cinematic feel—use that setup as your new default for future shoots.