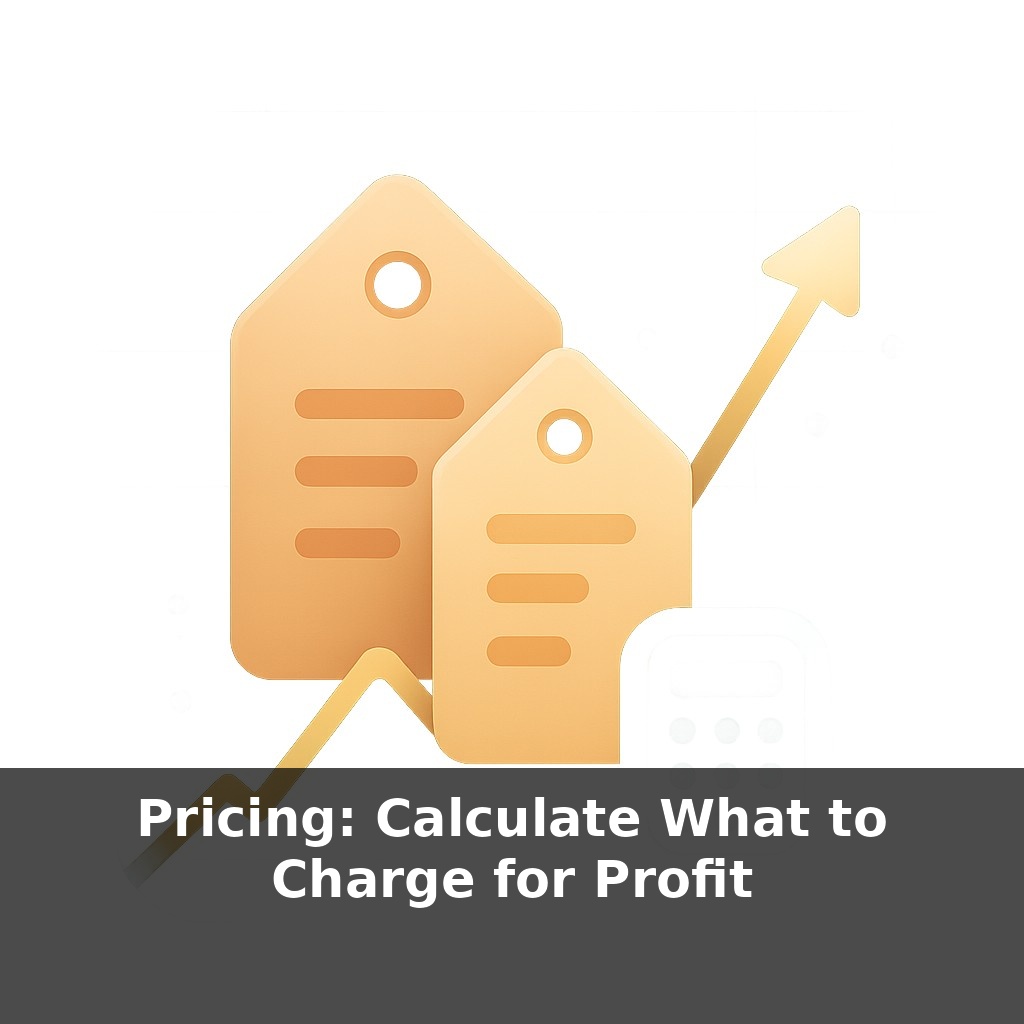
Right now, a tiny tweak to your prices could boost profit more than a big jump in sales. A designer charges two hundred dollars, another charges five hundred for the same work—both fully booked. In this episode, we’ll unpack why, and how to choose your number on purpose, not by guesswork.
That profit boost from tiny price shifts isn’t theory—there’s hard data behind it. McKinsey found that, on average, a 1% increase in price can raise operating profit by 6–11%. Yet most businesses still default to “cost plus a bit” and leave money on the table. Harvard Business Review reports only about 15% of companies consistently use value-based pricing, even though customers routinely pay wildly different amounts for similar outcomes: a $39 course vs. a $390 one, a $15 haircut vs. a $75 cut, a $9 app vs. a $99 subscription.
In this episode, we’ll move from “What can I get away with?” to “What’s the right number for my offer?” You’ll learn how to calculate a fully loaded unit cost, translate customer-perceived value into a price range, and choose a number that holds up in your market—then test it without gambling your entire income on a hunch.
Here’s the twist: knowing your value-based price range isn’t enough—you still have to decide where to land inside it. That choice depends on three forces you can actually measure: your capacity, your risk tolerance, and your market’s alternatives. If you can take only 10 clients a month, pricing at the low end of your range is usually a mistake; you’re capping your income before you start. If competitors cluster around $80–$100 and you’ve calculated a viable range of $60–$140, that tells you exactly how much room you have to go premium—or how aggressively you can undercut, on purpose.
Here’s how to turn that range into an actual number you can use.
Step 1: Map three price points Take one offer—say a 6‑week coaching package.
- Floor (minimum you’ll accept): based on your fully loaded cost. Example: your true cost is $220 per client. You decide anything under $300 isn’t worth it. - Middle (confident, “feels fair” price): maybe $450 based on outcomes and what clients have paid for similar help. - Stretch (top of your current range): the number that feels a bit scary but still defensible—say $650.
Write them down: $300 / $450 / $650. You’ll use all three.
Step 2: Decide your initial “list price” Your list price is the default number on your site or proposal. With capacity for only 8 clients a month, starting at the middle or upper part of your range usually makes more sense. In our example, you might set your list price at $550—not the highest number you imagined, but clearly above the middle.
Step 3: Build a simple structure around it Use your three numbers to create a pricing ladder:
- List price: $550 - Early/commitment price: $450 for people who book by a specific date - Anchor/comparison: a higher‑touch version at $850 (extra sessions or support)
Now $550 sits between “smart saver” and “premium,” instead of floating in space.
Step 4: Run controlled tests You don’t need airline‑level systems; you do need discipline. For your next 10 serious leads:
- Keep your offer and messaging the same - Quote one stable list price - Track: how many say yes, how fast they decide, and any price objections
If 9 out of 10 say yes immediately, you’re probably too low. If 1 out of 10 says yes and 7 mention price as the main issue, you may be too high for this segment or positioning.
Then adjust in small, deliberate moves—say $25–$50 at a time for offers under $1,000, 3–5% steps for higher tickets—and repeat the 10‑lead test.
Step 5: Use simple math to sanity‑check At $450 with 8 clients, you make $3,600/month. At $550 with 6 clients, you make $3,300 with more free time. At $650 with 5 clients, revenue is the same $3,250, but each client gets more attention and you reduce burnout risk. That trade‑off might be worth more than squeezing out the last dollar.
A quick way to pressure‑test your number is to run it through a few concrete scenarios. Say you run a small agency selling a monthly retainer. Your direct cost per client (team time, tools, tax, a share of overhead) comes to $700. You’re considering $900, $1,200, or $1,500 per month.
At $900 with 10 clients, that’s $9,000 revenue, $7,000 cost, $2,000 profit. At $1,200 with 8 clients, revenue is $9,600, cost is $5,600, profit jumps to $4,000. At $1,500 with 6 clients, revenue is the same $9,000, cost drops to $4,200, profit is $4,800.
Same ballpark revenue, wildly different profit and workload. Now layer in demand: if you can reliably sign 8 clients at $1,200 but struggle to get 10 at $900, the “safer” low price is actually riskier. Track three numbers for each price you test: win rate (how many leads convert), average revenue per client, and total hours you and your team work. You’re looking for the price where profit per hour, not just revenue, clearly improves.
Tomorrow’s pricing will depend on data discipline. If you log every quote and outcome, even a simple spreadsheet becomes powerful: quote $1,000 to 30 prospects, see 12 buy, and you know your realized revenue per prospect is $400. Raise to $1,100, 10 buy, and that jumps to $366 → $367? Keep the higher price. Layer in segments: if tech clients close at $1,400 and nonprofits at $900, you now have evidence to support differentiated offers, not random discounts.
Your challenge this week: run a 10‑customer pricing experiment. Pick one offer. For the next 10 qualified leads:
- Hold your offer and scope constant - Quote a single, clear price (no discounting on the fly) - For each lead, record three numbers: 1) Price quoted 2) Outcome (won/lost) 3) Hours you expect to work if they say yes
At the end, calculate profit per hour for the wins. If most buyers close fast and profit per hour looks strong, nudge the next 10 quotes up slightly; if not, adjust down and repeat.
Treat your price like a live metric, not a one‑time decision. Set targets: e.g., $80 profit per hour or a 30% margin. Each month, compare: if a $400 offer yields $120 profit on 3 hours (=$40/hour), you’re under target; at $600 for 4 hours (=$75/hour), still close. Use these thresholds to decide when to raise, hold, or redesign the offer entirely.
To go deeper, here are 3 next steps: 1) Open a free account in **Profit Calc / Cushion / Baremetrics** (or your current bookkeeping tool) and plug in your *actual* monthly business costs so you can calculate a real “must-hit” revenue and minimum price per offer. 2) Download a pricing calculator like **Breezy Pricing Calculator** or use the **“Profit-First Pricing Calculator” template on Notion/Google Sheets**, and run 2–3 of your current offers through it to test prices at different profit margins (e.g., 20%, 35%, 50%). 3) Grab a copy of **“Profit First” by Mike Michalowicz** or **“The Psychology of Price” by Leigh Caldwell**, and read just the chapters on pricing tiers and perceived value, then immediately use those ideas to add a “premium” version of one existing offer inside your checkout tool (ThriveCart, Shopify, or Stripe Payment Links) today.