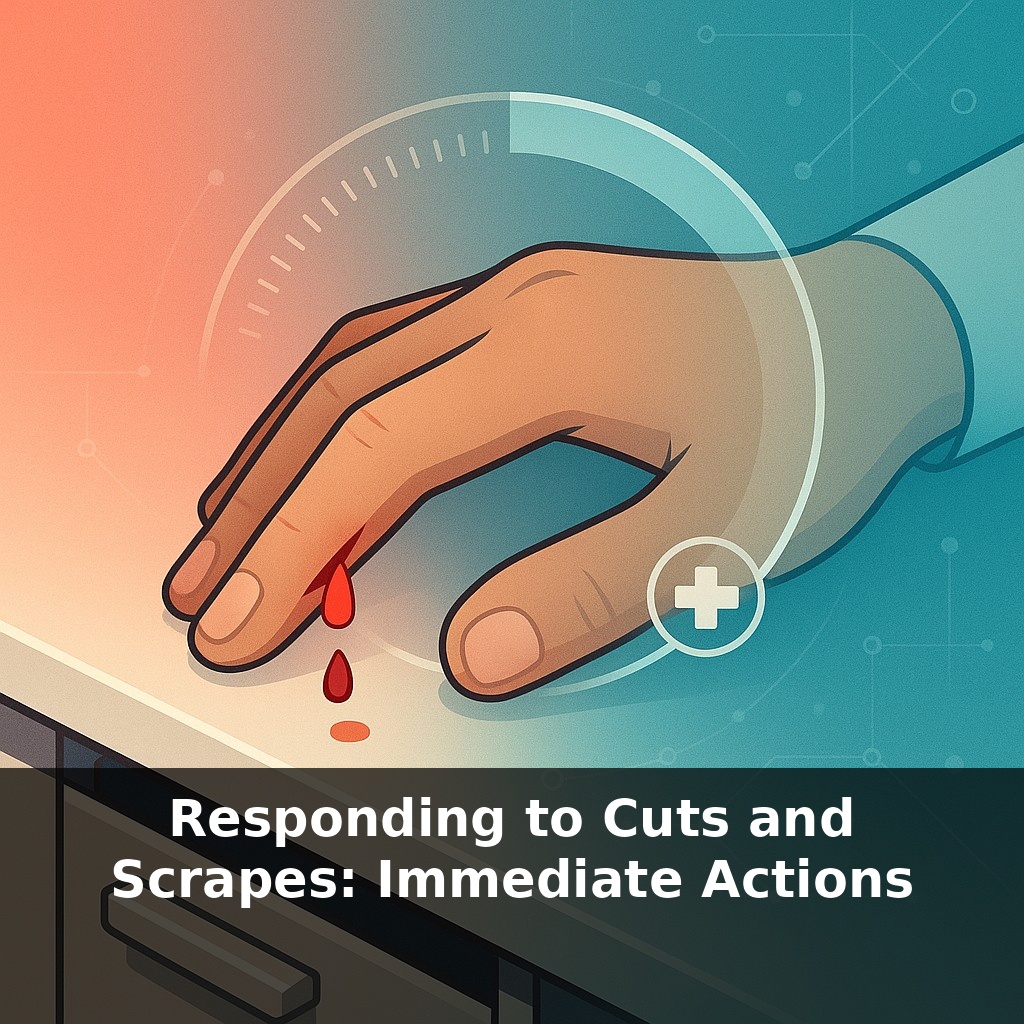
Your skin repairs a shallow cut in just a few days—but the first 60 seconds after you’re injured can decide how well it heals. You slam a drawer, see blood, and your brain blanks. Do you rinse, press, or peel it open to “let it breathe”? That tiny choice can shape the scar you wear.
The trouble with cuts and scrapes isn’t usually how dramatic they look—it’s how deceptively small they seem. A nick from a kitchen knife, a scrape on gravel, a slip with a razor: you see a thin line of red and your brain files it under “minor.” That’s when people start doing all the wrong things: dousing with hydrogen peroxide, sprinkling on alcohol, or leaving it uncovered to “dry out.” None of those choices match what your body is actually trying to do. This is where first aid quietly shifts from instinct to evidence. Instead of asking, “How bad does it look?” a better question is, “How do I give this wound the cleanest, calmest start?” That means caring about tiny details: tap water versus saline, air versus moisture, ointment versus plain petroleum jelly—and knowing when a “small” cut is big enough to need a professional.
So the real puzzle with everyday cuts isn’t “What’s the perfect product?” but “What’s the simplest sequence I can remember when I’m startled, rushed, or scared?” In real life, you’re juggling a crying child, a running faucet, a half-made dinner—there’s no time to scroll through search results. This is where a tiny, repeatable routine wins over fancy supplies. Think of it like a short choreography: hands go here, wound goes there, then cover and move on. In this episode, we’ll turn that evidence into a five-step reflex you can run on autopilot, even when your hands are shaking.
Most people jump straight to rinsing, but the quiet hero move comes one beat earlier: calm the bleeding. That doesn’t mean squeezing the life out of your finger; it means steady, gentle pressure with something clean and absorbent. A folded kitchen towel, a pad of tissues in a plastic bag, the inside of a clean T‑shirt—your goal is “steady” more than “sterile.” If you can, lift the area above heart level. You’re not trying to be a statue; you’re just stacking the odds so those tiny vessels can clamp down and form a plug.
Once that red “leak” has slowed or stopped, *then* you earn your way to the sink. Running water does the heavy lifting, but how you position the wound matters. Aim so the water flows from the cleaner skin side across and off the opening, not straight into the deepest part. That way, whatever grit is there gets carried away from, not deeper into, the tissue. Soap goes on the surrounding skin where the germs live, not ground straight into exposed flesh. Thirty seconds is longer than it feels; quietly count, or time it with one handwashing song.
When the edges look clean and you’re no longer seeing fresh debris, pat dry around—not on—the open area. This is where a thin, shiny film of protection earns its keep. You’re not frosting a cupcake; you’re creating the lightest possible barrier so the surface cells don’t desiccate and crack apart. A pea-sized amount often covers a surprisingly large scrape.
Covering is about contact and flexibility. A non‑stick pad or bandage that actually moves with the joint it’s guarding will stay on longer and hurt less to remove. Smooth down the edges so there aren’t little “chimneys” where dirt and friction slide under. On joints or knuckles, think in angles: a strip on top, then another across it, gives you coverage that can bend without peeling.
Now the quiet monitoring phase starts. Over the next day or two, you’re watching for the story to change: pain that ramps up instead of down, redness that spreads, pus that looks cloudy or greenish, a fever, or red streaks climbing the limb. Those are your “this is no longer a solo project” signals—time to hand the problem to a clinician before it snowballs.
Think about how different your response is with paper cuts versus playground scrapes. A paper cut on your fingertip might only need a quick rinse and a tiny bandage because it’s clean, straight, and shallow—like a neatly sliced edge in a sheet of paper. A gravel rash on a knee after a fall is more like a messy tackle in soccer: there’s friction, embedded grit, and wide surface area, so step two (rinsing) suddenly becomes the main event, and you might spend longer under the tap, gently lifting out visible dirt with the corner of a clean cloth.
Context shifts the script too. In your own kitchen, you know what the knife touched; on a rusty fence or in a garden bed, you’re adding the “when was that tetanus booster?” question and lowering your threshold for getting help. For kids or older adults on blood thinners, “bleeding longer than you expected” is common—but “soaking through several layers in minutes” is not. The art is noticing when a familiar pattern changes: side‑by‑side scrapes that look similar but hurt, ooze, or swell very differently 24 hours later.
Tomorrow’s “Band‑Aid” might quietly act more like a teammate than a sticker. Smart dressings that ping your phone when a cut’s acting suspicious are already in early trials, turning your skin into a live data feed instead of a guessing game. Think less “slap it on and hope” and more “coach on the sidelines,” tracking subtle shifts in temperature or pH so problems are flagged while they’re still easy wins, not full‑blown setbacks needing stitches or IV antibiotics.
Treating small cuts well is like quietly upgrading your “baseline settings” for daily life. Once you’ve practiced the sequence a few times, it starts to feel less like an emergency script and more like tying your shoes—automatic, calm, quick. And the payoff isn’t just nicer scars: it’s fewer detours to urgent care and more trust in your own hands.
Try this experiment: The next time you get a small, non-serious cut or scrape (like from cooking or bumping into furniture), time yourself as you move through the exact response steps: rinse under running water for at least 30 seconds, gently clean around it with mild soap, pat dry with a clean towel, apply a thin layer of antibiotic ointment, and cover with an adhesive bandage. Take a clear photo right after you’ve treated it, then another at 24 and 72 hours to compare how quickly redness and tenderness decrease. If you normally “just rinse and ignore,” do that on a different small scrape and compare healing time and comfort between the two approaches.