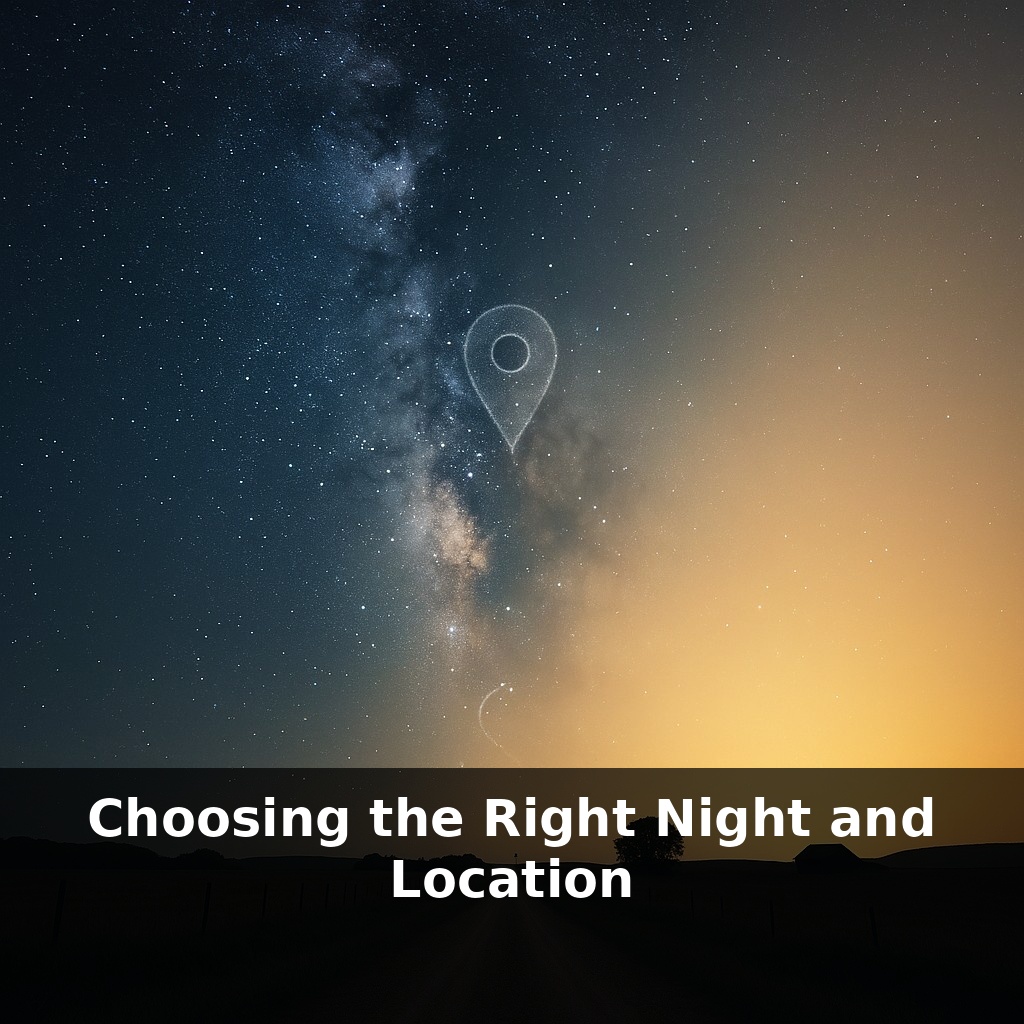
You can take a sharper photo of a galaxy from a dark farm road than from a fancy telescope in a bright city. One night, the Milky Way explodes with detail. The next, it’s a washed-out smudge. Same camera, same lens. The only real difference? The night and place you chose.
Street photographers chase golden hour; astrophotographers chase “black hour” — that fragile window when the sky is darkest, clearest, and calmest. Two rural fields a few kilometers apart can give totally different results: in one, stars look like pinpoints; in the other, they wobble and bloat, even with the same gear and settings.
This is where planning stops being optional. Beyond leaving the city, you start weighing trade‑offs: drive farther for darker skies, or stay closer with steadier air? Accept a thin haze, or gamble on a windy mountaintop with crystal transparency?
Weather apps only tell part of the story. A night can be “clear” yet ruined by high humidity softening every frame, or a subtle veil of cirrus that only shows up when you stretch your images. Learning to read forecasts, maps, and even the Moon’s schedule becomes as important as learning your camera’s buttons.
Instead of thinking “clear or cloudy,” start thinking in layers: ground, air, and sky. At ground level, you’re dealing with things like temperature swings, wind, and nearby lights that might flare your lens. Higher up, the air itself can be rock‑steady or boiling with turbulence, blurring fine details even when it looks pristine to your eyes. Above that, thin, fast‑moving structures can quietly scatter light and soften contrast. The trick is learning which layer is most likely to ruin your shot on a given night, so you can decide whether to reschedule, relocate, or re‑target a less demanding object.
The first step is to quantify how “good” a night and place really are, instead of relying on how the sky looks to your eyes. That’s where three ideas meet: darkness, steadiness, and clarity.
For darkness, start with a light‑pollution map, then refine it locally. Online maps (e.g., lightpollutionmap.info, Clear Outside, Dark Site Finder) show Bortle zones and satellite‑measured sky brightness. But they can’t see that one glaring barn light or factory to your south. When you scout, rotate in a full circle and note any bright domes near the horizon. Your sensor is more sensitive than your eyes; that soft glow 20° up can wash out a nebula that technically sits under a “dark” pixel on the map.
Next is steadiness: seeing. This is about how much the atmosphere squiggles starlight. Forecasts from MeteoBlue, Astrospheric, or Clear Sky Chart often include seeing values or jet‑stream overlays. You don’t need the numbers memorized; just notice patterns. Nights with fast upper‑level winds often give bloated, boiling stars at higher magnifications. If you’re planning wide‑field Milky Way shots, you can be more forgiving. If you’re chasing lunar or planetary detail, you’ll want those calmer, <20 m/s jet‑stream nights circled on your calendar.
Clarity—transparency—is different. Look for aerosol or “smoke/haze” layers in weather apps, and check humidity plus any mention of fog, dust, or wildfire smoke. Clear transparency lets faint outer arms of galaxies and diffuse nebulae stand out instead of dissolving into the background. A site can have mediocre seeing yet excellent transparency, and that’s still fantastic for wide‑field deep‑sky work.
Architecture is a useful mental model here: a good observing plan needs solid “foundation” (site choice), straight “walls” (forecasted seeing and transparency), and the right “windows” (the hours when your target is high, and the Moon is low or absent). You’re not just asking “is it clear?” but “is this the right structure for tonight’s target?”
Over time, you’ll start matching objects to conditions. Soft seeing but crystal‑clear transparency? Shoot big, forgiving nebulae. Slight haze but steady air? Go for the Moon. Marginal everything? Practice framing, focusing, or test a new lens instead of burning out on a critical project.
Think of three different nights as three different “software presets” for your sky.
Preset A: Mountain pull‑off at 2000 m, Bortle 2, forecast shows slow jet‑stream and dry air. This is your “high‑resolution” preset. Faint outer galaxy arms, dust lanes, subtle star colors — all of them stand a real chance. You’d plan longer focal lengths or mosaics here, plus longer total integration, because the sky will actually reward that effort.
Preset B: Coastal overlook, Bortle 4, but with ultra‑steady air and slightly higher moisture. This is a “detail where it counts” preset. The contrast may not be perfect, yet planets and the Moon can look tack‑sharp in moments of calm. You might skip faint nebulae and instead line up high‑magnification lunar tiles or planetary sequences, taking advantage of that steadiness.
Preset C: Dry desert plateau, Bortle 3, transparency excellent but stars twinkling hard. This is the “wide and deep” preset. Go for wide‑field Milky Way panoramas or large nebulae where micro‑sharpness matters less than pulling out extended faint structure.
Starlink trails may one day be as normal in raw frames as sensor noise. Instead of dreading them, think of them as extra “cleanup quests” in your workflow, handled by stacking software and AI tools that auto‑flag streaks like spam filters flag junk mail. As cities replace old fixtures with warmer, shielded LEDs, some currently mediocre sites could quietly become hidden gems, so keep notes now; in a few years you’ll know exactly which “upgraded” spots are worth a return visit.
Over time, you’ll build a mental “playlist” of nights and places, the way hikers remember favorite trails. Some dates will be your fast, casual walks — quick constellation shots from a familiar turnout. Others become summit attempts: long drives, long exposures, ambitious targets. Keep notes. The more you return, the better you learn which skies sing for which subjects.
Here’s your challenge this week: Pick ONE specific night in the next 7 days and officially declare it your “date night,” then block it off on your calendar so nothing else can touch it. Before the end of today, choose the exact location (your kitchen table with candles, that cozy taco place, or the park two blocks away) and lock it in with a reservation or a plan for what you’ll set up at home. Commit to a clear start and end time (for example, 7–9 p.m.) and tell your partner what the plan is so you’re both expecting it and treating it like a real event.