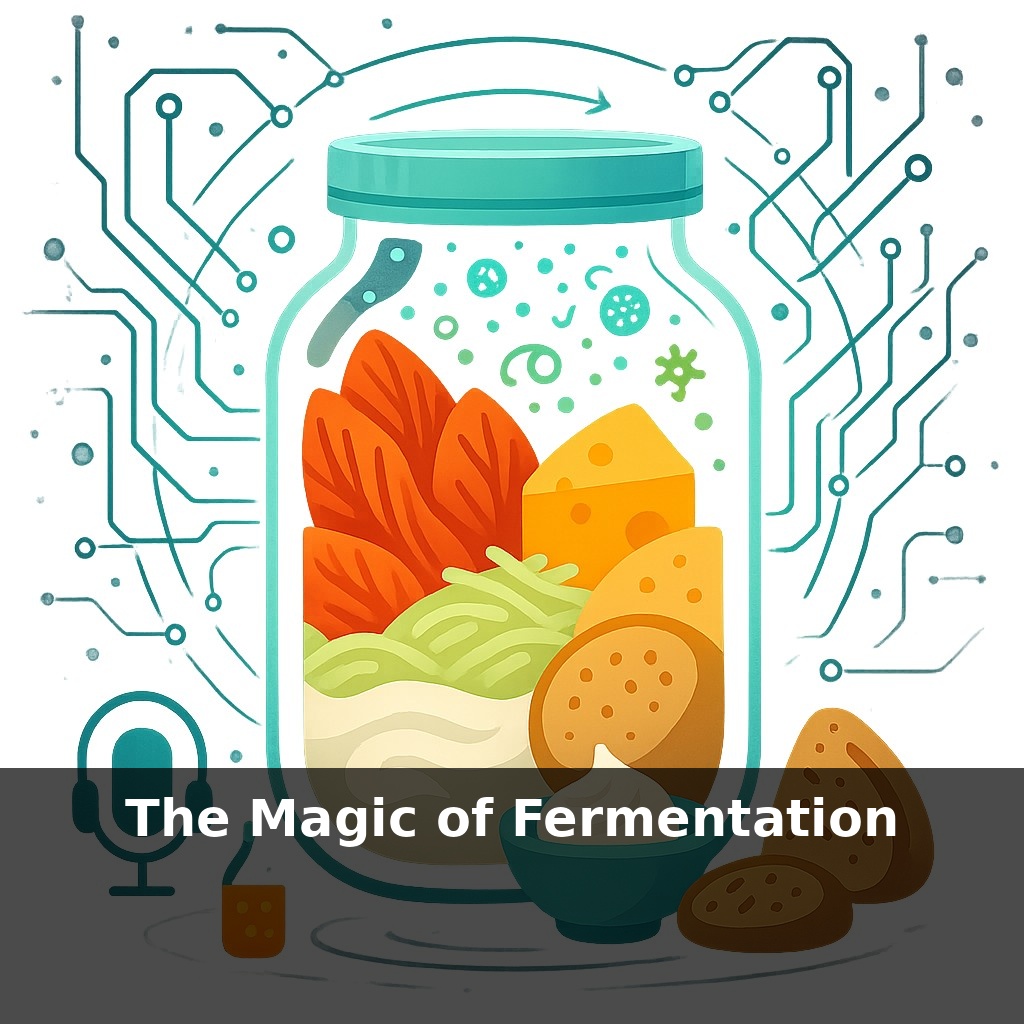
Some of the world’s safest, most complex foods are technically… spoiled. Sauerkraut, kimchi, yogurt—each begins as something perishable, then turns into something tougher, tangier, and more nutritious, all because we invite microbes in instead of kicking them out.
Fermented foods show up everywhere once you start looking: in sharp cheeses, crusty sourdough, tangy condiments, even some chocolates and coffees. They’re not just “old ways” of keeping food from spoiling; they’re a kind of quiet technology—simple inputs, carefully tuned conditions, and a surprisingly precise outcome.
In a restaurant kitchen, fermentation is like a secret settings menu for flavor. A cook can take the same cabbage or chilies and, just by changing salt, time, or temperature, dial in something bright and crunchy, or funky and deep. At home, the same logic lets you turn ordinary groceries into pantry powerhouses: a jar of seasonal vegetables becomes weeks of complex, ready-to-use acid and umami.
In this episode, you’ll learn how to set those “dials” on purpose, so your first experiments are controlled, safe, and repeatable.
In pro kitchens, those jars bubbling in the corner aren’t side projects—they’re flavor infrastructure. A chili ferment becomes the backbone of a signature hot sauce; a oat-based culture turns into a dairy-free “yogurt” for desserts and brunch. Chefs think in terms of inputs and outputs: given this vegetable, this microbe source, and this time frame, what new acidity, aroma, or texture can I bank for later service? Approached this way, fermentation stops being a gamble and becomes more like prep work you do in advance so “future you” has instant depth and brightness ready on the shelf.
A good way to think about fermentation in a cook’s terms is like designing a house: the same bricks can become a bright, open loft or a dark, cozy den, depending on how you arrange structure, light, and airflow. Here, your “bricks” are four variables you actually control: salt, temperature, time, and oxygen.
Salt is your structural backbone. At 1.5–2.5% by weight (a solid range for vegetables), you slow down unwanted microbes just enough for your preferred ones to dominate, while keeping textures crisp. Push toward 5% and you preserve aggressively but risk flat, stalled ferments; drift too low and you invite softness and surface growth. Chefs weigh both vegetables and salt so they can repeat a winning batch exactly.
Temperature shapes speed and personality. Cooler ferments (around 60–68°F / 16–20°C) tend to be slower, cleaner, and brighter; warmer ones (70–75°F / 21–24°C) move faster and can taste funkier or more sour. In a restaurant, this might mean keeping a pepper mash near a warm dish station for a quick, punchy ferment while storing delicate vegetable projects in a cooler hallway. At home, different spots in your kitchen play the same roles.
Time is your flavor slider. Early on, acids are gentle and textures firm; wait longer and you get deeper tang, more umami, and sometimes a bit of fizz. Instead of trusting a recipe’s single endpoint, pros taste in phases: day 2, day 5, day 10. Each check-in teaches you what “just right for me” means for that specific project and environment.
Oxygen decides who gets to party. Lactic ferments thrive when submerged and shielded from air; surface molds and yeasts love oxygen. That’s why weights, brine-topped jars, and water-sealed crocks matter. For projects that do want air—like some mold- or yeast-driven ferments—the logic flips: regular airflow and loose covers become tools, not risks.
Add basic measurement—pH strips or a meter if you’re serious—and you shift from guessing to logging. Sauces, pickles, breads: each batch becomes a data point, and before long you’re not just following recipes, you’re tuning a system that fits your kitchen, your climate, and your taste.
Think less in terms of “make a jar of X” and more in terms of building a tiny flavor portfolio. One project can pay dividends in multiple directions. Start with a simple salted carrot-and-garlic ferment: by day 4–5 you’ve got crunchy slices to chop into salads; a week later the brine itself becomes a bright seasoning splash for grains or dressings; push it longer and you’re nearing a base for blending into a quick sauce.
You can also layer ferments into other techniques you already use. Stir a spoon of tangy brine into a pan sauce instead of vinegar, fold a little into mayo for a shortcut “aioli,” or whisk some into a marinade and skip citrus altogether. Sourdough discard can be treated the same way—use a bit in pancake batter or tempura for extra lift and subtle tang rather than baking a full loaf.
As you experiment, notice which projects give you the most “spin‑offs.” Those are the ones worth keeping in constant rotation, like a house staple you refill before it ever runs out.
By 2030, your “ferment corner” might look more like a smart speaker than a crock: sensors tracking pH, CO₂ and salinity, nudging you when it is time to burp a jar or move it to the fridge. Precision fermentation is also creeping into everyday staples—think ice cream with dairy‑like proteins brewed in tanks, or miso tuned to taste like aged steak. As gut‑brain research matures, your doctor could prescribe a custom mix of ferments the way they now adjust your macros.
Your challenge this week: run a tiny home trial of “guided” vs. “freestyle” fermentation. Set up two identical vegetable jars. On one, log weight, salt percentage, room temperature, and daily pH or taste notes. On the other, just eyeball and wing it. After 7–10 days, compare flavor, texture, and your confidence in repeating each result. That contrast will show you how close you already are to the tech-enabled, precision-ferment kitchen that’s coming.
As you keep experimenting, pay attention to how each jar changes your cooking rhythm: a spoonful of brine standing in for lemon, a smear on toast replacing cheese, a splash in soup doing the work of stock. Over time, your counter becomes less a storage space and more a quiet lab, where every batch is a small bet on future flavor—and future you.
Before next week, ask yourself: 1) “Which one ferment from the episode—like sauerkraut, kimchi, or a simple brined carrot—actually sounds fun (not intimidating) for me to start, and what ingredients do I already have in my kitchen to try it today?” 2) “Where in my daily routine could I realistically taste or check on my ferment (for example, right after breakfast), so it becomes a tiny ritual instead of a forgotten jar in the back of the fridge?” 3) “How will I tell if this first fermentation experiment feels ‘successful’ for me—taste I enjoy, less food waste, a sense of curiosity—so I’m not just judging it by whether it looks like the perfect jar they described on the show?”