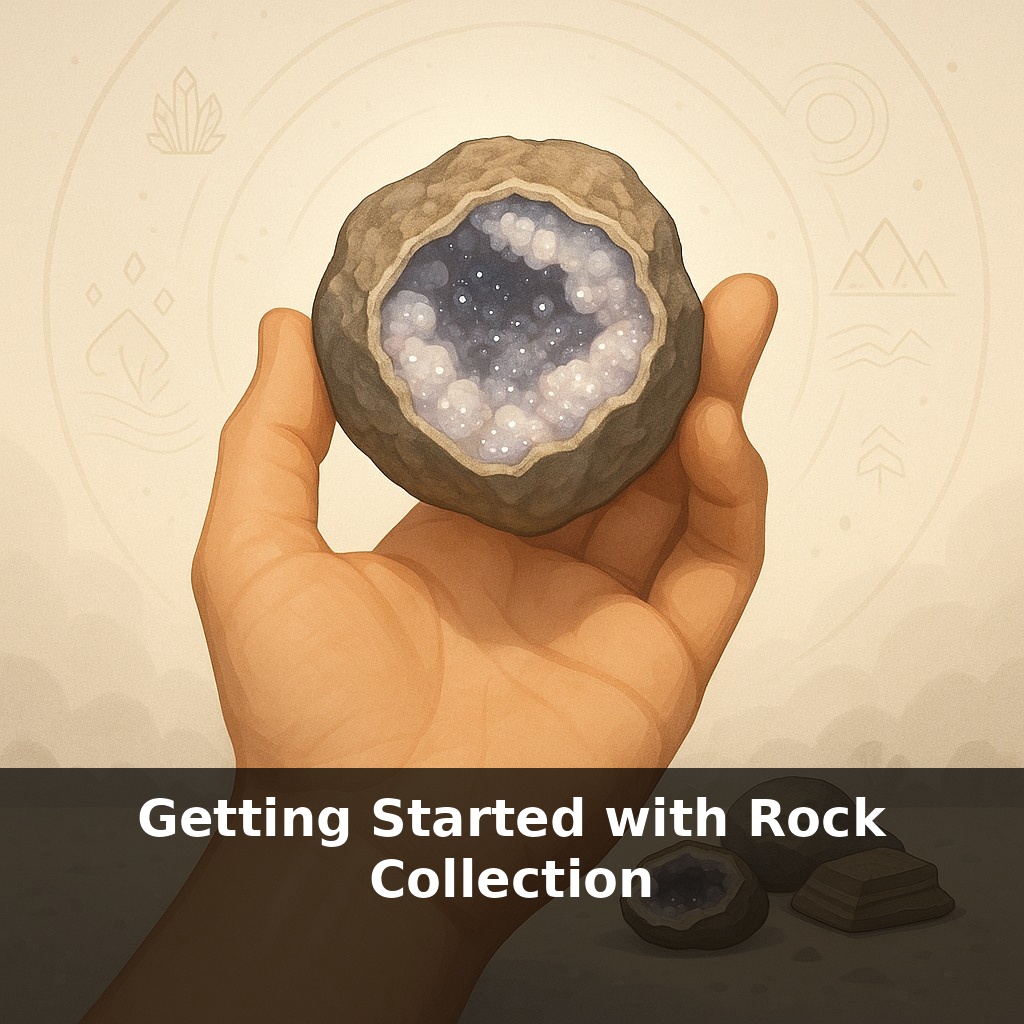
A rock you kick on the sidewalk might be older than every tree on Earth today. Now, picture yourself turning that “boring” stone in your hand, spotting tiny crystals, subtle layers, even glitter. In the next few minutes, we’ll turn everyday rocks into tiny time machines.
That same sidewalk stone has “relatives” all over the planet—on beaches, in mountains, even in the gravel under train tracks. Rock collecting, or rockhounding, is basically learning to recognize those family resemblances. Instead of just seeing “a rock,” you start to notice clues: is it full of visible grains, glassy and smooth, or banded and twisted like pulled taffy?
You don’t need a lab or expensive tools to begin. With your eyes, your fingers, a coin, and a simple streak plate (or the back of a ceramic tile), you can already tell a surprising amount about a specimen. As you practice, patterns emerge: some rocks crumble easily, others scratch glass; some glint with mica, others hide dull but important minerals.
In this episode, we’ll turn that casual curiosity into a repeatable method, so every rock you pick up tells a clearer piece of Earth’s story.
Soon you’ll discover that most of what you pick up is built from a surprisingly small “alphabet” of minerals—about 30 common ones, out of thousands scientists have named. That limited toolkit is great news: it means you can actually learn the main players. With a basic kit that costs less than a night out, you’ll start spotting familiar minerals in new places: in a curb stone, a river pebble, a construction site boulder. Local rules matter too: some lands freely allow small personal collecting, others forbid even a pocket pebble, so knowing where you stand is as important as what you hold.
Start by giving every rock you pick up one job: answer a question. Not “Is this valuable?” but something specific and testable: “Did this cool quickly or slowly?” “Was this once mud?” “Has this been squeezed deep underground?” Those three questions quietly point you toward the three big rock groups: igneous, sedimentary, metamorphic.
To tease out those answers, you’ll lean on two things: texture (how the rock is put together) and context (where you found it). Texture comes first because it’s always with you, even if you know nothing about local geology.
Hold a rock close and ask:
- Are the grains locked together like glued Lego bricks, or are they weakly stuck, so you can rub off sand or mud? - Are any crystals big enough to see clearly, or is everything fine and uniform, maybe even glassy? - Do you see layers, bands, or distinct chunks welded together?
Locked, intergrown crystals usually point to molten origins. Loose grains that shed or feel sandy whisper of water or wind. Wavy, bent, or stretched layers hint that the rock’s been pressured and heated after it formed.
Now bring in context. Where was this rock sitting before you picked it up?
- River or beach gravels often collect hard, resistant pieces transported from upstream or alongshore. - Road cuts, quarries, and construction sites expose rock “in place,” still attached to its original setting. - Man‑made environments (concrete, bricks, landscaping stones) can masquerade as natural specimens.
Note the nearest features: a creek, a hill of layered cliffs, a dark volcanic-looking ridge. Each narrows your options. For example, rounded pebbles beside a stream tell you they’ve been tumbled; sharp, blocky fragments at the base of a cliff probably broke off nearby, keeping their local story.
At this point, identification turns into a simple decision path, more like following a flowchart than memorizing an encyclopedia. Does it have visible, interlocking crystals? No layers? You’re likely in igneous territory. Does it show distinct layers or obvious fragments glued together? Sedimentary is your best first call. Are those layers contorted, or are minerals aligned in parallel streaks? Metamorphic just raised its hand.
One helpful comparison: reading texture and context in rocks is like debugging code in a big software project—small clues (an error message here, a weird log there) make sense only when you know which subsystem they belong to. Texture is your local error message; context is the rest of the codebase.
As you practice, resist the urge to jump to rare or exotic names. Most field finds are common workhorses: granite, sandstone, shale, basalt, schist, quartzite, limestone. Getting the group and the general story right is already a win; precise labels can come later, when you’ve built up a mental library of examples and started to recognize repeat “characters” in the rocks you meet.
Think of your first “field lab” as three short case files you build yourself.
Case 1: Urban mystery. Pick a stone from a garden bed or parking lot. Note three things in a pocket notebook: where it came from, one textural detail you hadn’t noticed before, and a question it raises (“Why are some specks shiny while others are dull?”). Don’t answer yet—just capture clues.
Case 2: Water witness. Visit a creek, fountain, or shoreline. Choose one rounded pebble and one sharper fragment. Compare their edges, weight, and feel. Which seems tougher? Which looks like it’s traveled farther? Now your notes track journeys, not just shapes.
Case 3: Cliff reporter. At a road cut or exposed bank, sketch a quick outline of what you see—no art skills needed. Mark any color changes, breaks, or bands. Beside each, jot a guess: “Change in sediment?” “Different eruption?”
Your challenge this week: assemble these three case files, then look back and circle the most surprising detail in each. That circled trio is your personal starter guide: the specific things your eyes now catch that you used to ignore.
Treat each rock you meet as a tiny vote in bigger decisions. As more beginners log finds with GPS and photos, those dots help refine hazard maps, groundwater models, even where cities place future roads. It’s like upgrading from a hand‑drawn sketch of a stadium to a full architectural plan—suddenly you see weak spots, load paths, escape routes. The more eyes on the ground, the sharper that blueprint becomes, and the harder it is to ignore what’s beneath our feet.
Soon, you’ll notice something else: your notes start to map stories across places. A pebble from your street echoes a cliff hours away; a “just okay” specimen links to a museum display. As your eye sharpens, even a basic kit and a free afternoon turn sidewalks, bus stops, and trailheads into unscripted field trips through Earth’s backstage.
Here’s your challenge this week: visit one spot you can access easily (a local park, creek bed, construction site pile, or gravel path) and bring home exactly five rocks that are all clearly different in color, texture, or weight. At home, rinse them, let them dry, and sort them into three labeled groups: “Igneous?”, “Sedimentary?”, and “Metamorphic?” based on what you learned in the episode (look for things like visible grains, layers, or glassy textures). Snap one clear photo of your sorted mini-collection and give each rock a simple nickname plus a location note (e.g., “Glassy Black – creek by Oak Bridge”).