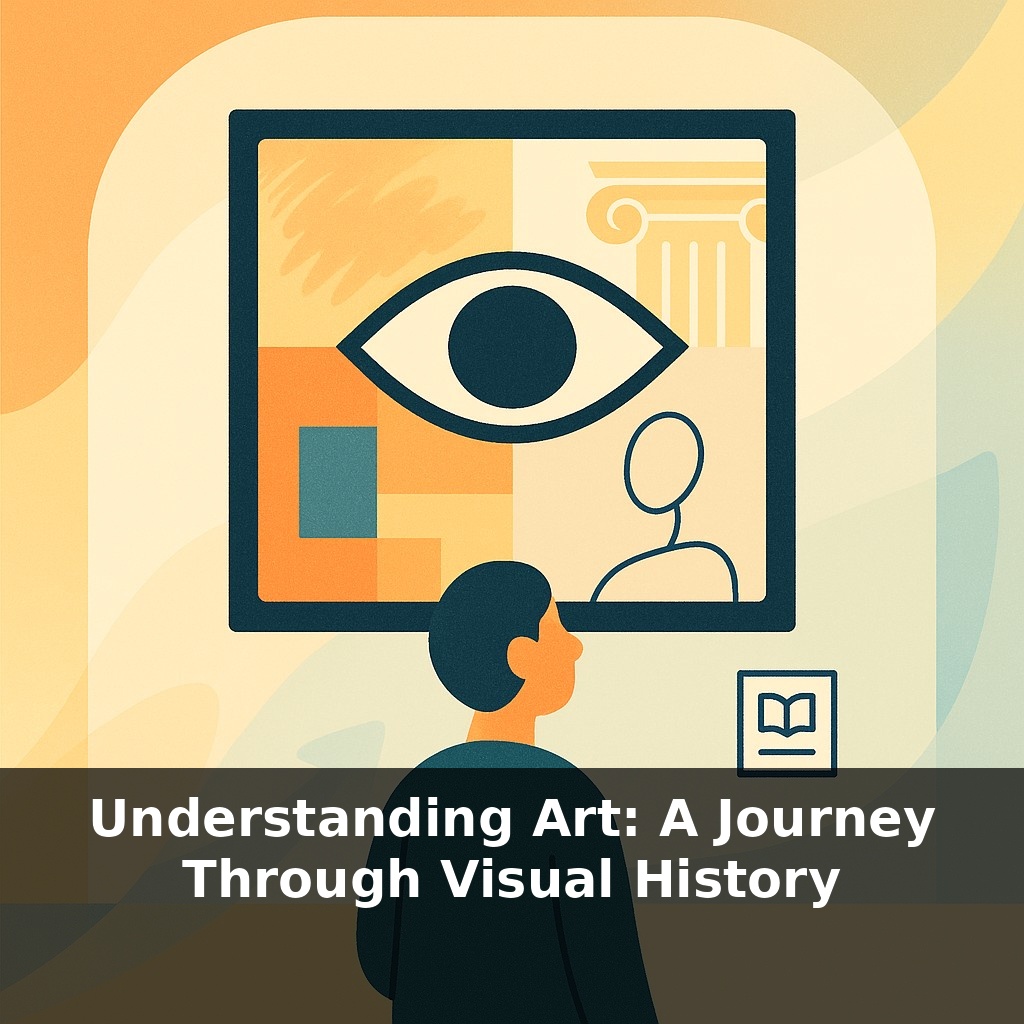
Most people stand in front of a painting for less than half a minute—and then walk away convinced it “did nothing” for them. You’re not broken; you’re under‑trained. Today, we step into the gallery as if it’s a gym, and I’ll show you how to start working out your eyes.
Most visitors move through a whole museum floor in under an hour, glancing at 100+ works and truly connecting with almost none. The problem isn’t time, it’s distribution: we spread our attention too thin. In this episode, you’ll learn how to flip that ratio—fewer works, far deeper looking—using methods borrowed from art education, neuroscience, and even medical training.
You’ll practice three kinds of seeing: - Slow, detailed observation that pushes you past the “first impression” wall - Guided questioning that turns confusion into curiosity - Contextual checking—just enough research to unlock symbols, stories and intent
We’ll translate tools like Visual Thinking Strategies and the Feldman Method into concrete steps you can use on your next museum visit, a gallery opening, or even scrolling past an artwork online.
Think of this as moving from “looking once” to “looking in layers.” In practice, that means cycling through three passes with a single work. On pass one, you log raw data: at least 10 distinct details—colors, edges, tiny objects—in under 60 seconds. On pass two, you spend another 60–90 seconds turning those details into questions: “Why that gesture? Why that empty space?” On pass three, you give yourself 2–3 minutes to quickly scan the wall label or a short note online, then return your eyes to the work to see what has shifted.
Most people assume that if an artwork doesn’t “click” in the first 20 seconds, it never will. The research you saw earlier suggests almost the opposite: your brain is still booting up.
Now that you’ve tried those three passes, we can upgrade them from “one‑off exercise” to a repeatable system. Think of what follows as loading more weight onto the same three machines.
Start with a specific goal: pick just 3–5 works per visit, total. That instantly raises the time-per-work ceiling. If you have 60 minutes, that’s around 10–15 minutes each—far beyond the 15–30 second norm and enough to move you into that 90‑second+ zone where recall jumps.
On your next piece, extend pass one and two into micro‑tasks:
1. Detail quota plus categories Instead of “10 details,” set 3 categories and a number for each. For example: - 5 about light and shadow - 5 about edges and boundaries - 5 about human traces (fingerprints in clay, brush direction, seams) You’re still under 2 minutes, but you’ve forced your eyes to sweep the whole surface.
2. Question ladder Take any one detail and climb three rungs: - What do I literally see? - What might that suggest? - What else in the work supports or contradicts that? Do this for just 3 details and you’ve already built 9 linked observations instead of 3 isolated ones.
Next, borrow a page from how VTS is used in classrooms: externalize your thinking. When possible, look with someone else and split roles for 3–4 minutes: one person only describes, the other only asks “What makes you say that?” Then switch. You’ll notice your interpretations getting more evidence‑based without feeling academic.
Contextual research (your third pass) also benefits from constraints. Limit yourself to 3 quick facts: date, place, and one unfamiliar term or symbol. Spend no more than 2–3 minutes gathering them, then turn away from the label or screen and restate, in your own words, how those 3 facts might change the emotional temperature of what you’re seeing.
Track your total time: if you reach about 8–10 minutes with a single work, pause. Notice whether you’re bored, energized, or oddly protective of “your” piece. That shift—from passerby to partial owner—is a sign your eye is starting to build real, stored relationships with what you see.
At home, you can rehearse this with anything visual—not just “capital‑A” art. Take a movie still, a fashion ad, or even a game screenshot. Set a 5‑minute timer. In minute 1, jot 12 concrete nouns you see: “red jacket,” “cracked pavement,” “blurred car,” etc. Minutes 2–3, pick 4 of those and write 2 possible reasons each might be there: “red jacket: stands out from grey crowd / signals danger or rebellion.” In minutes 4–5, google just 2–3 quick facts: the photographer’s name, the campaign theme, or the game’s release year and setting. Then look back once more and circle which of your guesses now feel stronger or weaker.
Working digitally? Screenshot the image and use your phone’s markup tools. Draw 8–10 arrows to areas you’d normally ignore—the corners, background faces, small objects. Label each arrow with a single word: “tension,” “wealth,” “noise.” You’re forcing your eye to connect micro‑details to gut impressions in a way most people never practice, and you can repeat this with 3 images in under 20 minutes.
In 5–10 years, “building your eye” will include managing live feedback. AR glasses might show a simple bar that turns red when you jump artworks too fast, or blue when you hold focus for 120+ seconds. Some museums are already prototyping this with ~50 test users per month. You’ll also be able to save “looking sessions” as digital trails, comparing how your focus shifts across 3 visits, or between your path and that of a curator, friend, or local community guide.
Over a month, 3 focused visits of 60 minutes can give you depth with just 12–15 works—far more than skimming 200. Treat that as a starter dataset. Note which pieces held you for 6+ minutes and why. After visit #3, rank your top 10 by “pull.” Those outliers show your emerging taste map—and where to push your next 5 sessions.
Here’s your challenge this week: choose ONE environment you’re in every day (your desk, kitchen counter, or entryway) and photograph it once a day for seven days from the exact same spot and angle. Each time, change only ONE visual element on purpose—like removing 3 items, shifting the main focal object, or simplifying the color palette to 2–3 colors max. At the end of the week, line up all seven photos side by side and circle the two images that feel the clearest and most intentional, then note exactly what you changed in those two that made them stronger.