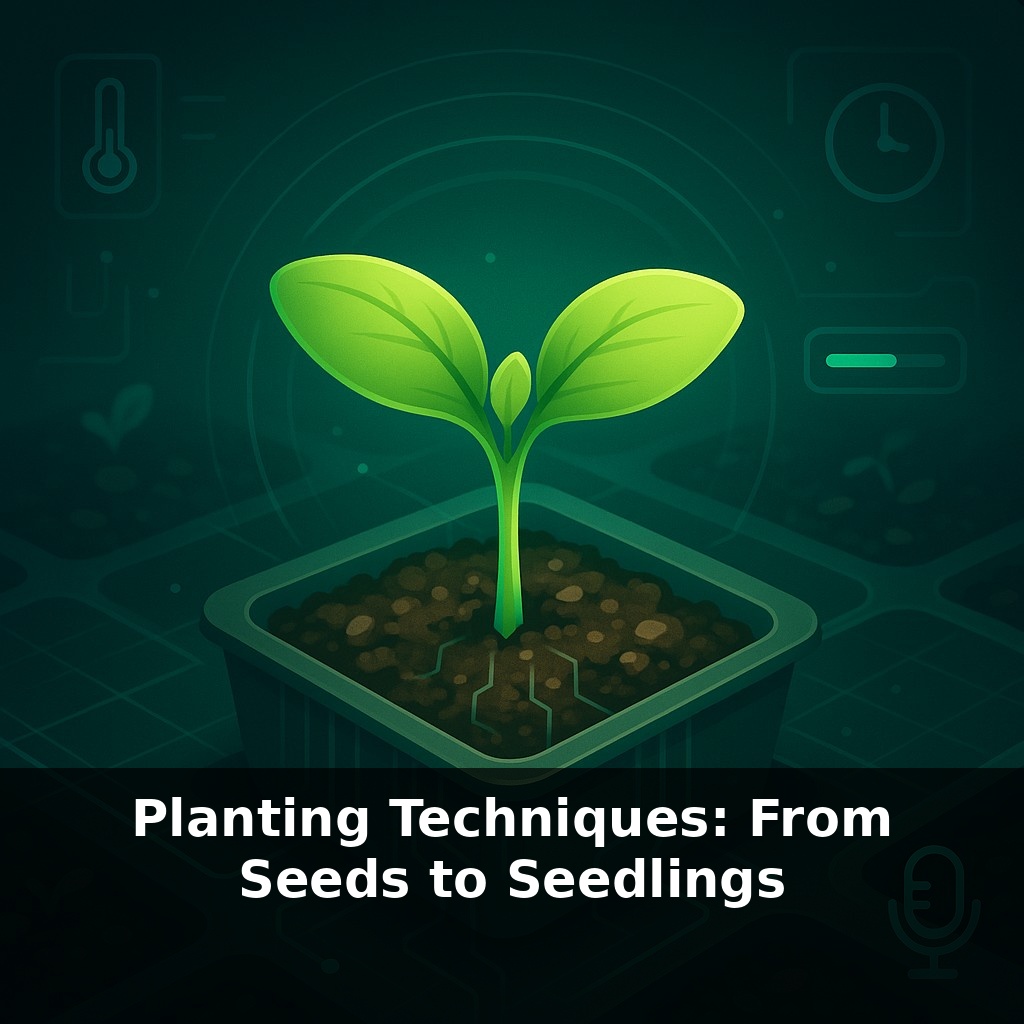
Most failed gardens don’t die in a heatwave or a frost—they fail quietly in the seed tray. A few degrees too cool, a bit too soggy, and seedlings never stand a chance. Today, we’ll zoom into that hidden stage where tiny decisions decide your whole harvest.
Around 30–40 % of seeds in home gardens never make it to productive plants—and it’s usually not “bad luck.” It’s timing, temperature, and technique. The good news: all three are under your control. In this episode, we’ll connect the dots from the seed packet to a sturdy transplant, so you’re not just hoping things sprout—you’re engineering their success.
We’ll look at how to choose the right sowing moment for each crop, why a 1 °C shift can quietly slash germination, and how tools like pelleted seed and soil blocks can turn a chaotic windowsill into a consistent mini‑nursery. Then we’ll follow those tiny sprouts into their next stage: controlled growth, hardening off, and a move outdoors that doesn’t set them back weeks. By the end, you’ll see that “planting” isn’t a single act, but a sequence—and small upgrades at each step can multiply your eventual harvest.
Now we’ll zoom out from individual trays and dates and look at the whole pipeline as one connected system. Each crop has a “launch window” where seed, seedling, and soil conditions line up; miss it, and you’re forcing a bad takeoff. This is where timing maps, temperature targets, and age limits for transplants start to matter as much as what variety you bought. Think of it like a relay race: if one runner (stage) is too slow or too fast, the handoff gets messy and you lose momentum, even if every runner is strong on their own.
Here’s the quiet trick behind that “pipeline” you just heard about: each crop has a sweet spot not only for *when* you start it, but *where* it does each stage best.
Start with seeds. Instead of asking “Is it spring yet?”, ask three things from the packet or a good reference: • Ideal germination temperature range • Days to germinate at that temperature • Recommended sowing depth and whether it wants light to sprout
Then match those needs to the warmest, most stable micro‑environment you actually have: a seedling heat mat, the top of a fridge, a sunny shelf, or a cool basement for things like lettuce that resent high heat. The goal is short, predictable germination windows, not just “they came up eventually.”
Next, separate “germination conditions” from “growing conditions.” Many crops want it warmer and darker to sprout than to grow well. That’s why seeds started on a slightly heated, covered tray often do best if they’re moved under bright light and slightly cooler air the moment most have emerged. You’re shifting from “wake up” mode to “build a strong frame” mode.
Light becomes your main tool here. Indoors, that usually means getting seedlings within 5–10 cm of LED or fluorescent lights for 14–16 hours a day, and raising the fixture as they grow. Weak, stretched stems are nearly always a light problem that people try to fix with fertilizer, and that just makes them floppier.
Watering is your other big lever. Think of it as training roots to search, not to wait for room service. Let the surface dry slightly between waterings while keeping the root zone just moist. Bottom‑watering trays encourages roots to go down; leaving seedlings sitting in a puddle smothers them.
Nutrients come later than most beginners think. For the first couple of weeks after emergence, the seed’s own reserves usually cover things. Once you see the first true leaves, a very dilute, balanced fertilizer every 7–10 days is enough. Look for sturdy, slightly stocky plants with leaves that are a healthy green—not dark, floppy, or neon.
Age, not just size, then becomes the gatekeeper for transplant. For each crop, note its ideal transplant age or leaf stage from a trusted guide. Sowing too early often matters more than any “late frost”: overaged seedlings act like runners forced to stand still; once planted out, they survive, but never really sprint.
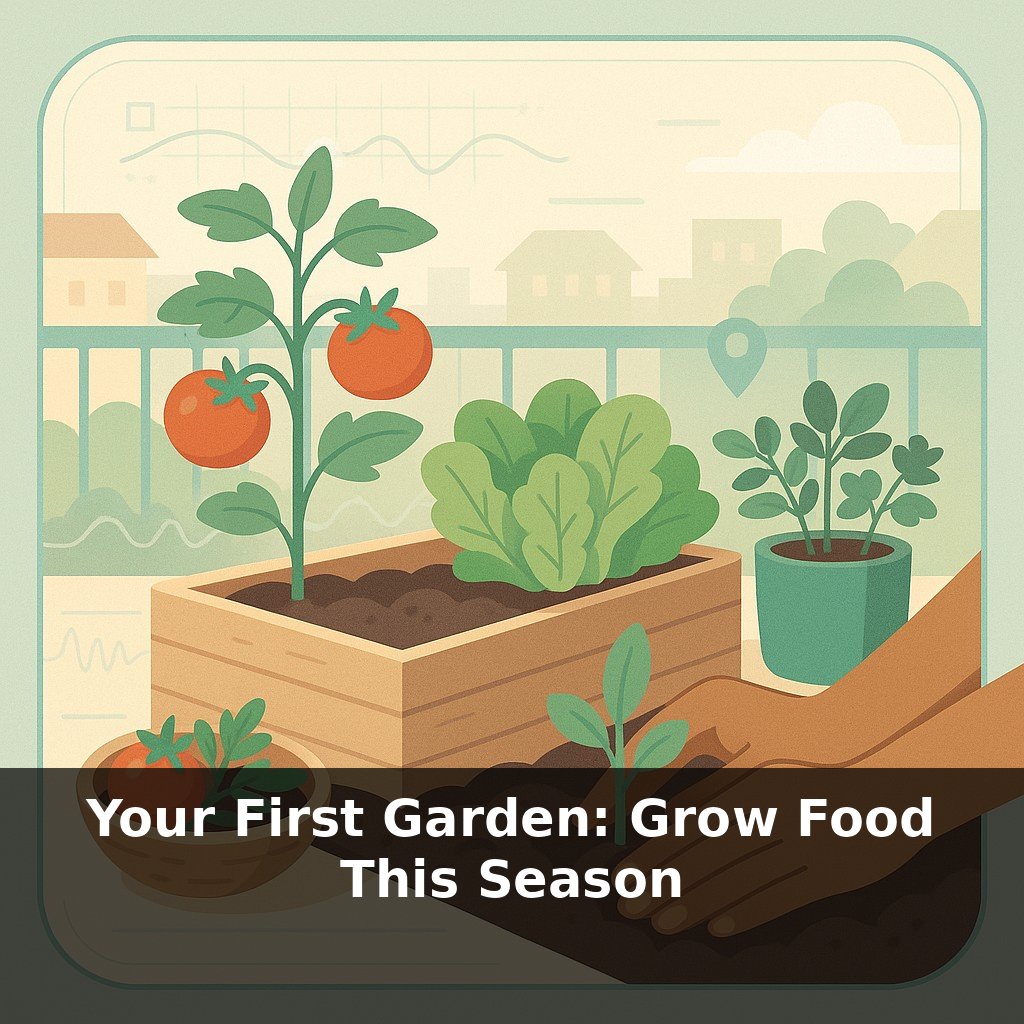
Think of three actual crops you might grow: a fast sprinter (radish), a steady middle‑distance runner (lettuce), and a long‑distance specialist (tomato). Their “training plans” look different once you zoom in.
Radish rewards impatience. Direct‑sown into cool soil, it often does better skipping the indoor stage entirely. If you must raise it in modules, use small cells and transplant before roots hit the walls; otherwise you’ll pull up twisted, woody bulbs that bolted weeks too soon. Here, the win isn’t higher tech—it’s fewer interventions.
Lettuce sits in the middle. Indoors, a slightly cooler, very bright spot keeps it dense instead of leggy. Outside, you can stagger tiny successions every 10–14 days: one tray coming up, one hardening, one in the bed. Suddenly “continuous harvest” isn’t a wish, it’s just a rotation.
Tomato is the opposite of radish: it absolutely pays for early indoor time. One powerful tweak is depth. Pot up once or twice, burying the stem a bit deeper each time; all those tiny hairs can become roots, anchoring the plant for future droughts and wind.
Weather whiplash will make “set it and forget it” planting a relic. You may end up running a mini plant factory: lights, sensors, and cheap data loggers quietly tracking how each batch responds to shifting seasons. Seed companies are already breeding for traits like faster root recovery and flexible planting windows; home growers will piggy‑back on that, swapping notes like open‑source coders, turning local spreadsheets of sow dates and survival into shared climate defenses.
Your first season, treat every batch of plants like a set of small experiments. Note which trays leap ahead, which stall, and what the weather was doing. Over time, you’re sketching your own “flight manual” for your yard. Just as a musician learns a room’s acoustics, you’ll learn how your space shapes each crop’s voice—and your future sowings will sound better in tune.
Start with this tiny habit: When you rinse dishes after a meal, pick up just one seed packet (or saved seed) and quickly circle tomorrow’s date on it as your “plant one seed” day. Then, on that date, when you go to make your morning coffee or tea, poke a single hole into a small container (egg carton, yogurt cup, whatever you have), fill it with a handful of potting mix, and tuck in just one seed. Every time you brush your teeth at night, glance at that one container and tap the soil lightly with your fingertip to check if it’s dry on top—if it is, give it a teaspoon of water.