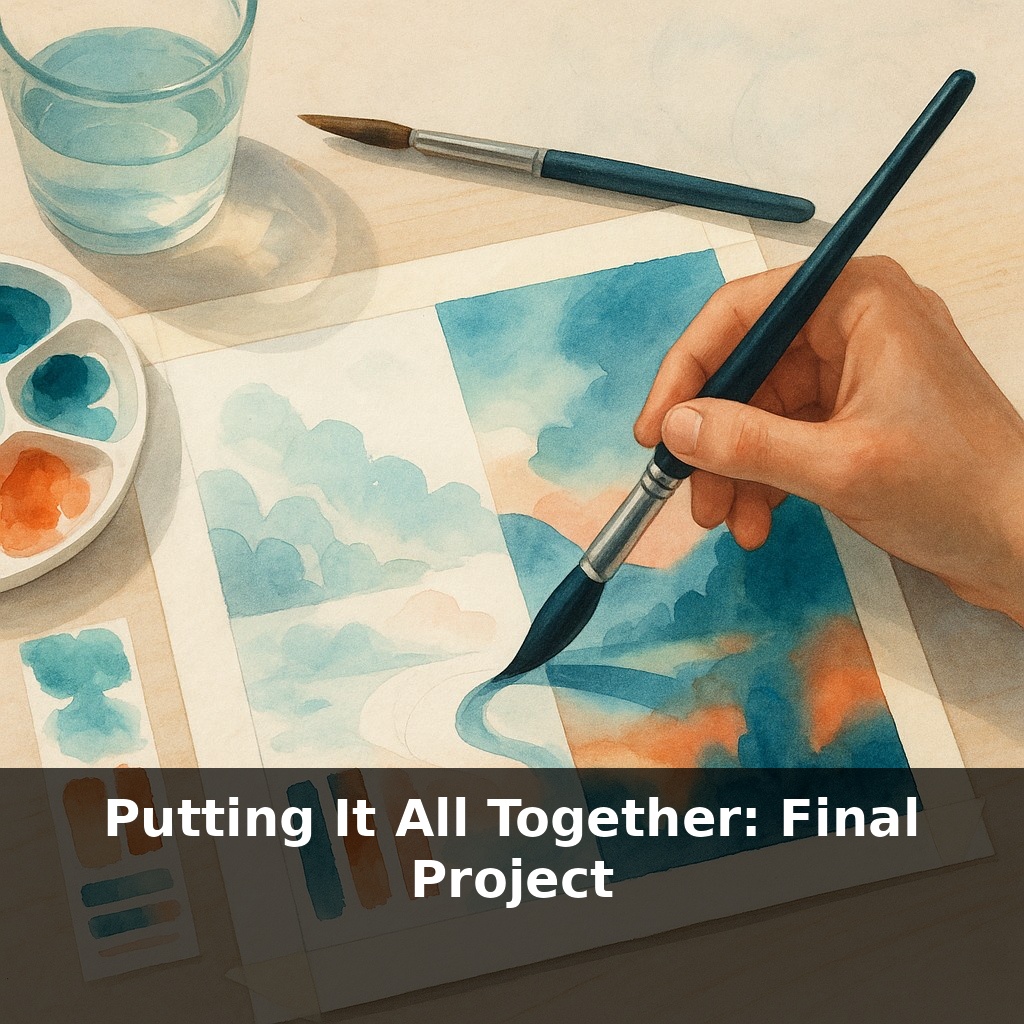
Half of what makes a watercolor look “effortless” is planned long before the first brushstroke. You’re sketching, testing values, letting layers dry. Then, in just a few confident moves, the final image appears—like you knew it all along, even though you discovered it on the page.
About 30% of what you see while you paint will quietly vanish as the paper dries and colors lighten. That shift can turn a dramatic shadow into a dull smudge—or a careful gradient into a flat shape—unless you plan for it. This is where everything you’ve practiced stops being separate “exercises” and becomes one connected workflow. You’re no longer just testing an isolated technique; you’re deciding *when* to trust soft diffusion, *where* to keep edges crisp, and *how* bold your midtones must be so they survive drying.
In this final project, you’ll treat your piece less like a single performance and more like a small series: quick thumbnails to audition ideas, targeted studies to rehearse tricky passages, then a decisive main painting. The goal isn’t perfection; it’s building a repeatable way of working you can carry into any subject you tackle next.
Now you’ll zoom out and design the whole experience of the painting, not just isolated moments within it. Think like a director blocking a scene: where does the viewer enter, pause, and exit? Use simple arrows over your rough plans to trace that path. Consider how shapes, not details, create rhythm—clusters of darks, pauses of light, and one or two “loud” accents that do the talking. This is where historical uses of the medium can inspire you: the clarity of old botanical plates, the looseness of urban sketchers, the restraint of Japanese scrolls. Let those approaches whisper suggestions, not dictate rules.
A museum-grade watercolor that survives a century under glass depends less on “talent” than on dozens of tiny, invisible decisions: pigment choice, paper weight, drying time between passes, even how you tilt the board when the first wash moves. Your final project is where those small decisions start to feel deliberate instead of lucky.
Begin by deciding your *constraints*: size (for example, 9×12 in), orientation, and a limited palette you’ll stick to. Limitation is your ally here; three to five well-chosen colors will make the piece feel unified and keep you from chasing every interesting hue on the palette. Mark a clear focal area directly on your planning sheet—literally circle the zone that deserves the crispest edges, highest contrast, and most saturated color. Everything else supports that area or quietly steps back.
Next, map your value structure with just three families: light, mid, dark. Convert your idea into these blocks before you think about hue. This is where you can lean on your earlier studies: if a passage felt confusing then, simplify its shapes now. Treat any secondary elements—background trees, distant buildings, soft fabric—as opportunities to practice soft transitions and lost edges rather than detail traps.
Before touching the final sheet, rehearse the *sequence* of operations like a short algorithm: 1) broad light shapes, 2) first wave of midtones, 3) selective dark accents, 4) final texture and edge edits. Write this out beside you. During the painting, glance at it the way a coder glances at pseudocode—less to obey it rigidly, more to remember the logic.
As you work, keep one scrap of the same paper taped nearby. Any time you’re unsure how strong a mix should be, or whether a glaze is dry enough, test there first. This tiny habit alone prevents most overworked passages. You’re directing water and pigment, not wrestling them; tip the board, soften a line with a clean damp brush, or walk away for ten minutes if an area is starting to fight back.
When you reach the final 10–15%, pause. Turn the piece upside down or view it in a mirror. Ask: does my eye land where I planned? If not, adjust with the lightest possible touch—one darker shape, one softened edge, one reserved highlight brought back with careful lifting or a touch of bodycolor. Then stop while the painting is still saying more than you are.
Think of this final project less like “one big painting” and more like building a tiny system that you can reuse. For example, you might decide every scene you paint this month will have: one dominant light shape, one main dark anchor, and one color that appears in every area, even if only as a whisper. That gives your work a recognizable fingerprint without you forcing a “style.”
Try designing three different final pieces from the same reference: one that pushes drama with strong darks, one that stays mostly high-key and airy, and one that experiments with unusual color choices (like cooling all shadows, or warming every reflected light). You’re not hunting for the “right” answer; you’re learning how many valid solutions a single subject can have.
In practice, this might mean turning a cluttered street into just five main shapes, or reducing a complex still life to two big value families and a handful of accents. Over time, your planning sheets start to look like blueprints—evidence of how you think, not just what you see.
Treat this project as a prototype for how you’ll paint in five years. As tools evolve, you might preview pigment behavior on a tablet before ever wetting the page, then commit only when the digital “ghost” looks right. Think of your habits—note-taking, swatch labeling, sequencing decisions—as open-source code you’re slowly refining. The more clearly you document what you did and why, the easier it becomes to remix, scale up to larger formats, or pivot into animation, prints, or teaching later.
As you wrap this piece, note what truly surprised you—where water misbehaved, a color sang, or a last-minute change saved the composition. Treat those moments like GPS pins for future paintings. Over time, this map of small experiments becomes your personal playbook, making each new project less about guessing and more about curious, confident iteration.
To go deeper, here are 3 next steps: First, download a free project management tool like Trello or Notion and build a simple board just for your final project, with columns that match the episode’s phases (research, outlining, creation, feedback, polish). Next, open YouTube and watch one expert breakdown related to your project topic (for example, Ali Abdaal on study systems, or Thomas Frank on productivity workflows) and pull 3 concrete tactics into your “research” column. Finally, grab a template that fits your format—Google Docs for a written guide, Canva’s “course workbook” templates for a visual project, or Loom for a video walkthrough—and spend 20 focused minutes turning your rough idea into a first visible version you can actually share.